The first step into the process is to create a GWSCAN disc. There are several ways you can do that, but the one that I will list below will be the step in a CD mostly because that’s the common way beside USB’s.
Step 1 – Download the image file
- Click in the following link
- Download the file in your PC or Laptop
- Finish, Next Step 2
Step 2 – Burn the image file
For this process you will need to have a CD ready to burn
- Insert the disc
- Open your tool to burn images (Recommended tool - Free IOS Burning)
- Add the image file into the CD
- Start the burning process, wait until is done
- Finish! Insert the CD in the PC that needs to be reinstall
- Close all programs
- Restart the PC
Step 3 – Boot up
- As you PC boot up, it will load the CD
- Select the option Run GWSCAN by pressing the number 1
- You will load a blue screen, here you can select what option you wish to run
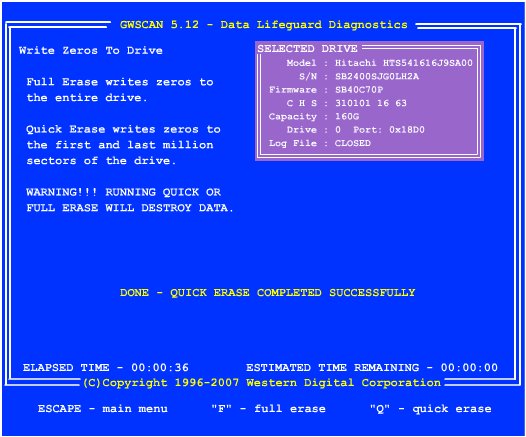
- Select Write Zero´s to Drive, to select the option move up and down using the arrows in the keyboard and then press Enter
- In the new screen, you have to press F – Full erase.
- You will receive a warning before the process being. Press C to continue
- Wait until the process is completed
- Press ESCAPE to exit the menu
- The move with the arrows and select QUIT to exit the tool.


Paso 2 – Start the process to boot from CD
- Insert the CD in the CD unit of the PC
- Turn off/Restart the PC
- While the PC boots up again, be ready for the following message:
“Press any key to boot from CD”
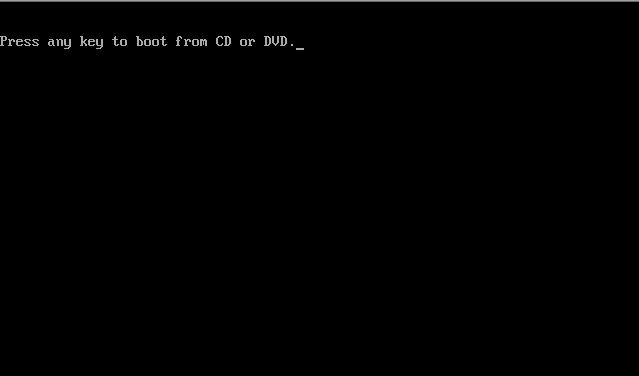
- A few seconds later Windows XP Setup will begin, a blue screen will appear
- To continue with the process follow the screens-shots below


In the following step, you only have to wait until the process is completed


- When you get to see the Windows XP screen for the first time, it means the basic components about to be install


- The next step would be to customize the region and language of your operating system; press in the button Customize to set up this options

- Windows XP will require a Name for the organization or computer (Family/Home PC) can be a good name for this part. Keep in mind that this option doesn´t after your user profile in the future.

- Enter your product Key.
- This part it’s very important; at the end of the process, Windows will try to verify the activation by requesting Internet Access. My advice would be to enter the product key you have (Located under your portable computer or in the side of your desktop) and when it request for set up Internet Access, just ignore and set up later.
- This new step will request for a Computer Name and a password for your Administrator account. Do not enter any password in this option; if you do want to, make sure to copy down what you write or you will have to start all over in case you lose this information. There isn´t a way using Microsoft Tools to get your password back. (There is a tool but only applies to Windows Vista and 7)

- Set up Time and Date & Time Zone

- Enter the Network options and make sure to call your group (WORKGROUP)


- By this new Welcome Screen, you will know you are almost done

- Make sure to val
- idate after you are 100% done

- Here you can set up your user account. It will not have a password but it will create a login screen

- Finish


Pictures, courtesy of TweakHound.